The Signature user interface was created with efficiency of navigation in mind, as well as easy readability. As a result, we decided to hide certain columns in the Inbox table, in order to improve readability. However, we anticipated that some of you might find these columns valuable, so we have included the ability to customize which columns are visible in the table. Below, you will find a step-by-step tutorial for customizing columns.
Here are some key steps you should perform when customizing columns:
Click the customize columns button

Click on the hamburger icon in the top-right corner of the Inbox table. This will open the customize columns modal.
Toggle visibility on or off for columns

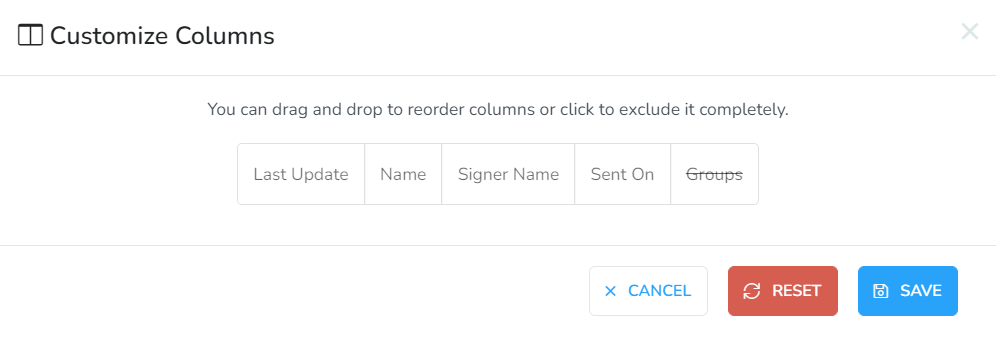
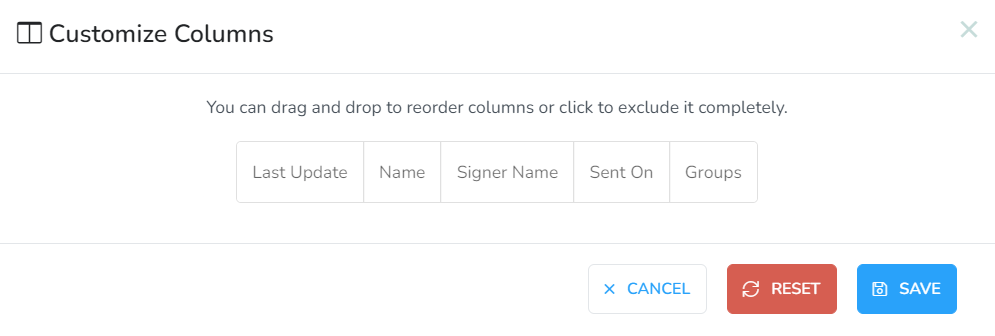
Click on a column to make it visible, and click on it again to make it invisible. If you wish to return to the default column view, click the reset button.

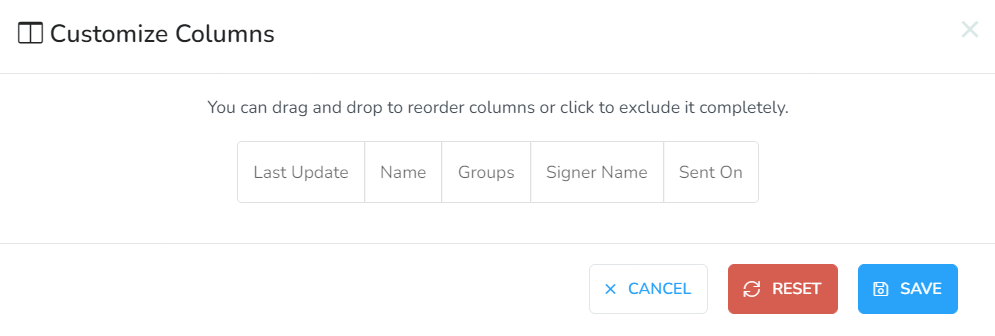
In our example, we have made the group columns visible.Change the order of the columnsClick and drag on a column to change the order that the columns will appear in the table.

When you are finished editing the columns, click the save button for the changes to take effect.

You can customize the table columns as many times as you like. If you wish to return to the default column view, click the reset button.
In our example, we have moved the group column between the name and signer name columns.