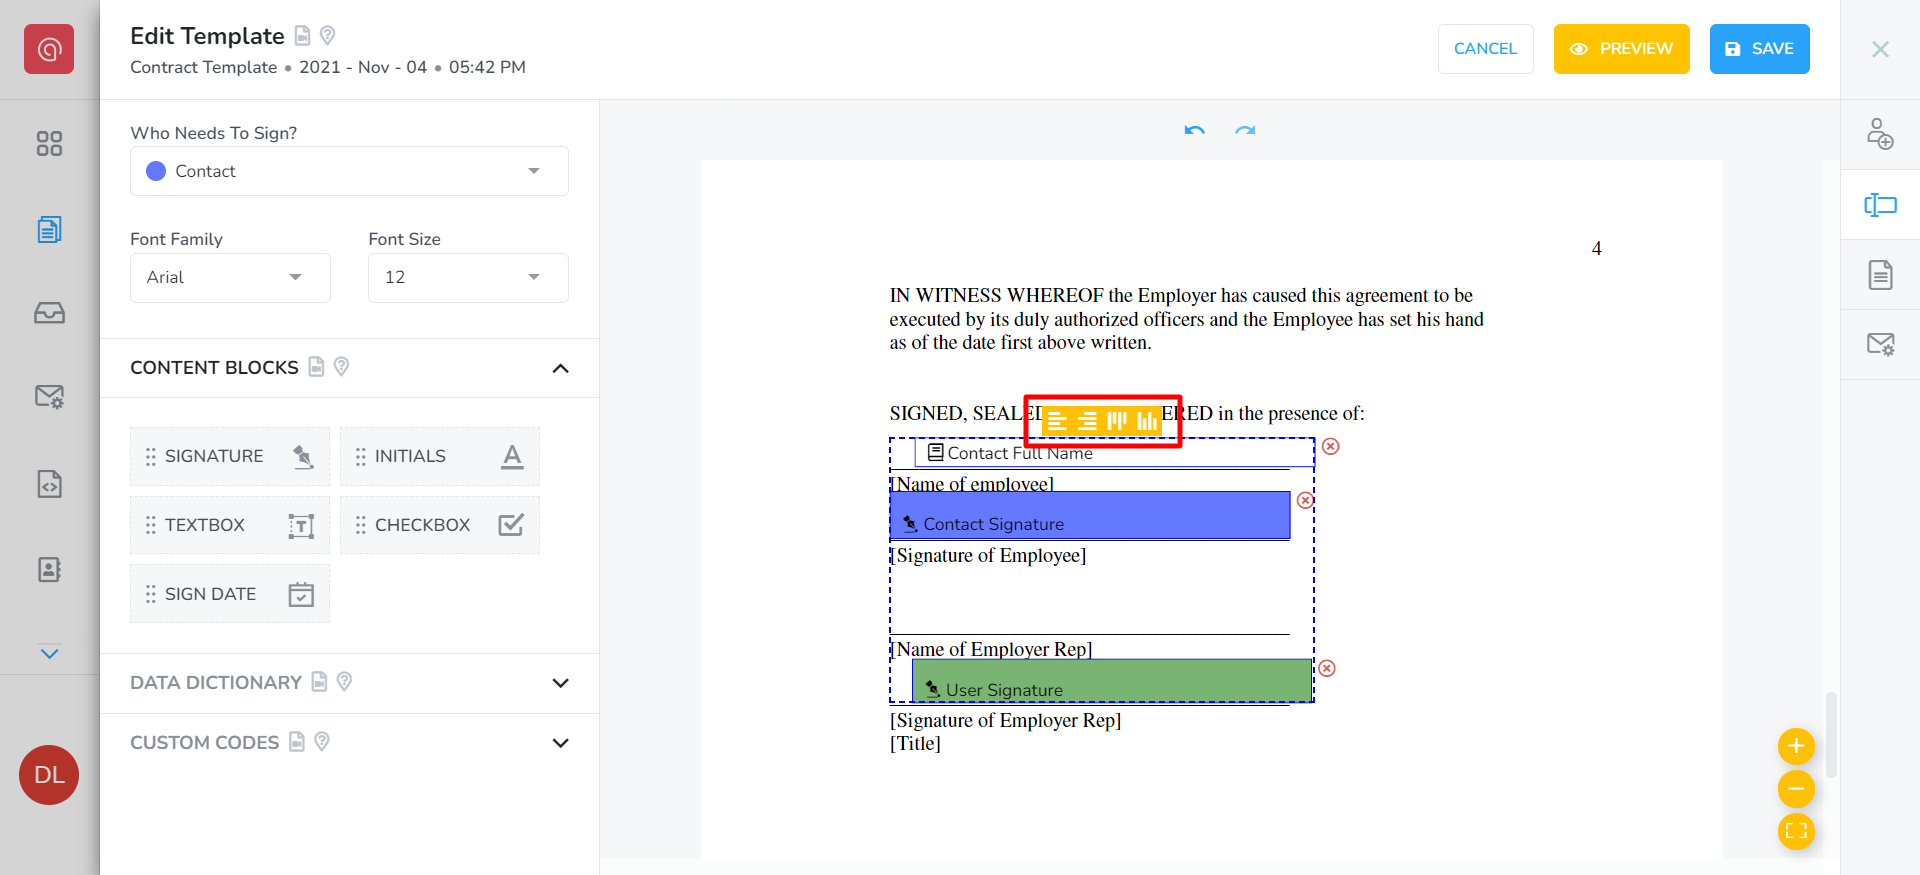
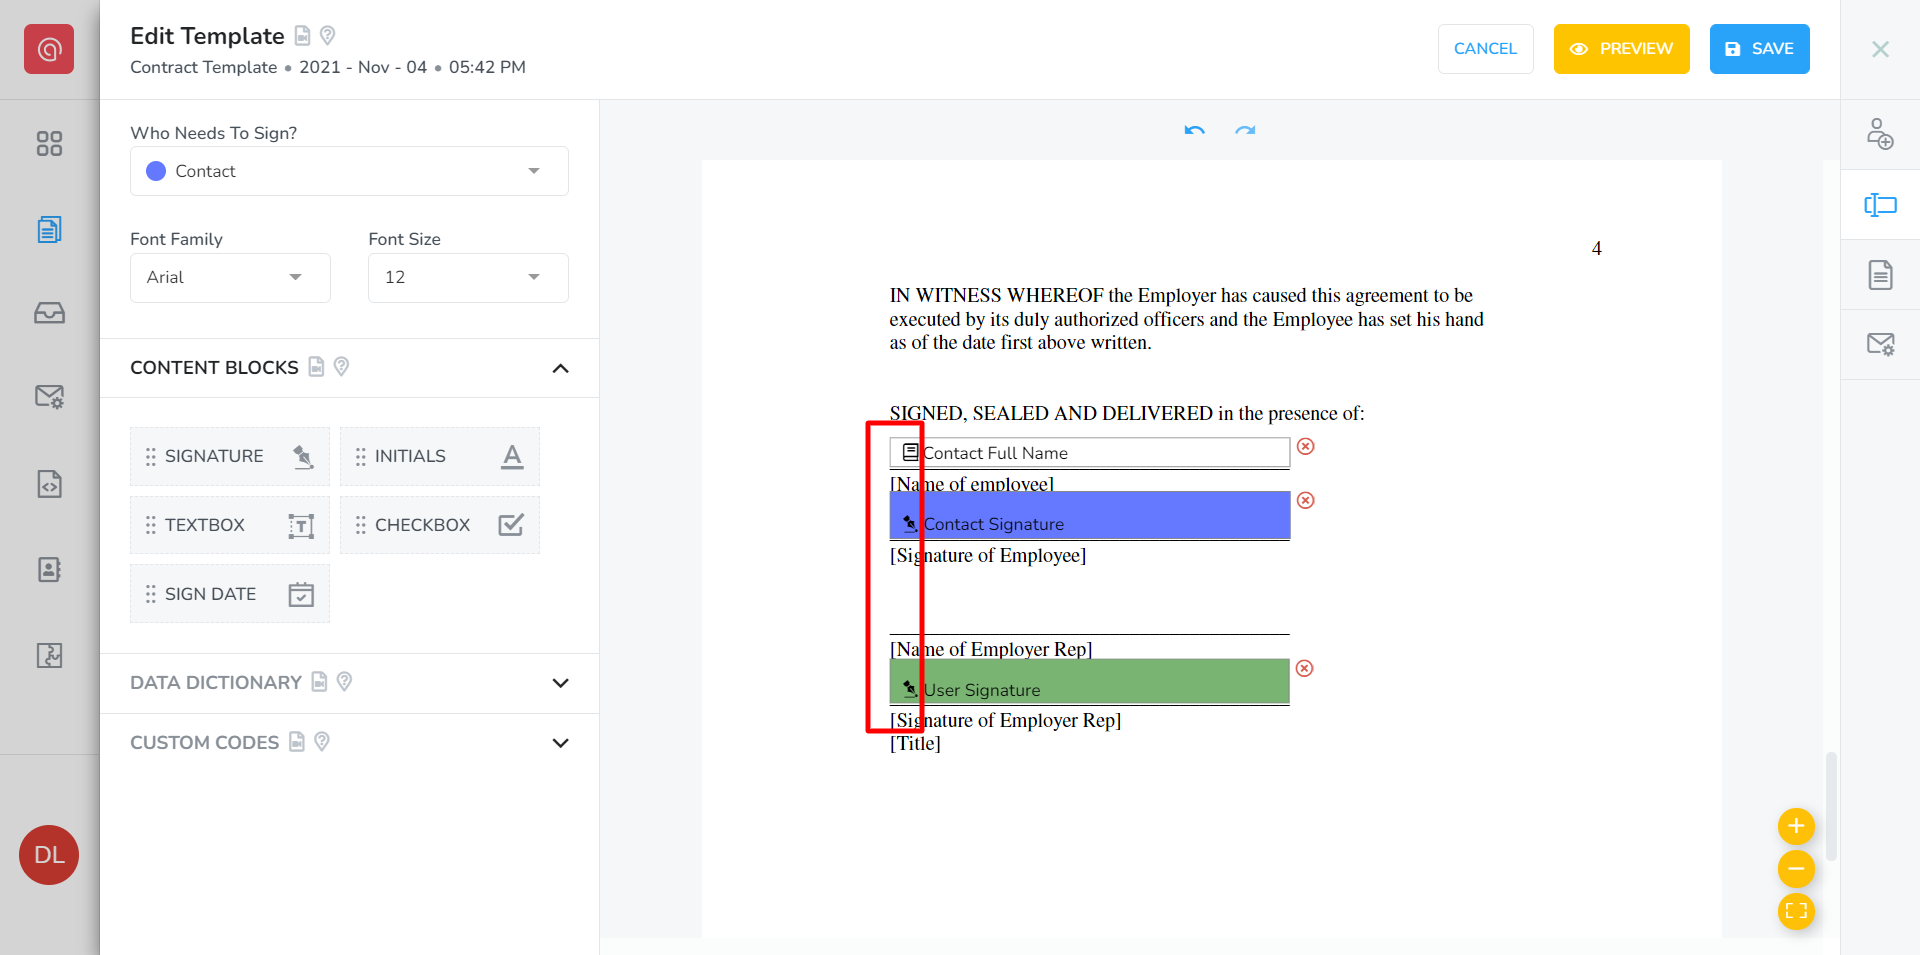
Creating usable templates is easy, but making them look pixel-perfect can be a little tricky. Signature wants to change that. The new Snap-To-Alignment tool will make aligning the fields in your template a cinch. You can align fields using any of their 4 sides: top, bottom, left, and right. Below, you will find a step-by-step tutorial for using the Snap-To-Alignment tool.
Here are some key steps you should perform when using the Snap-To-Alignment tool:
Locate fields that you want to align
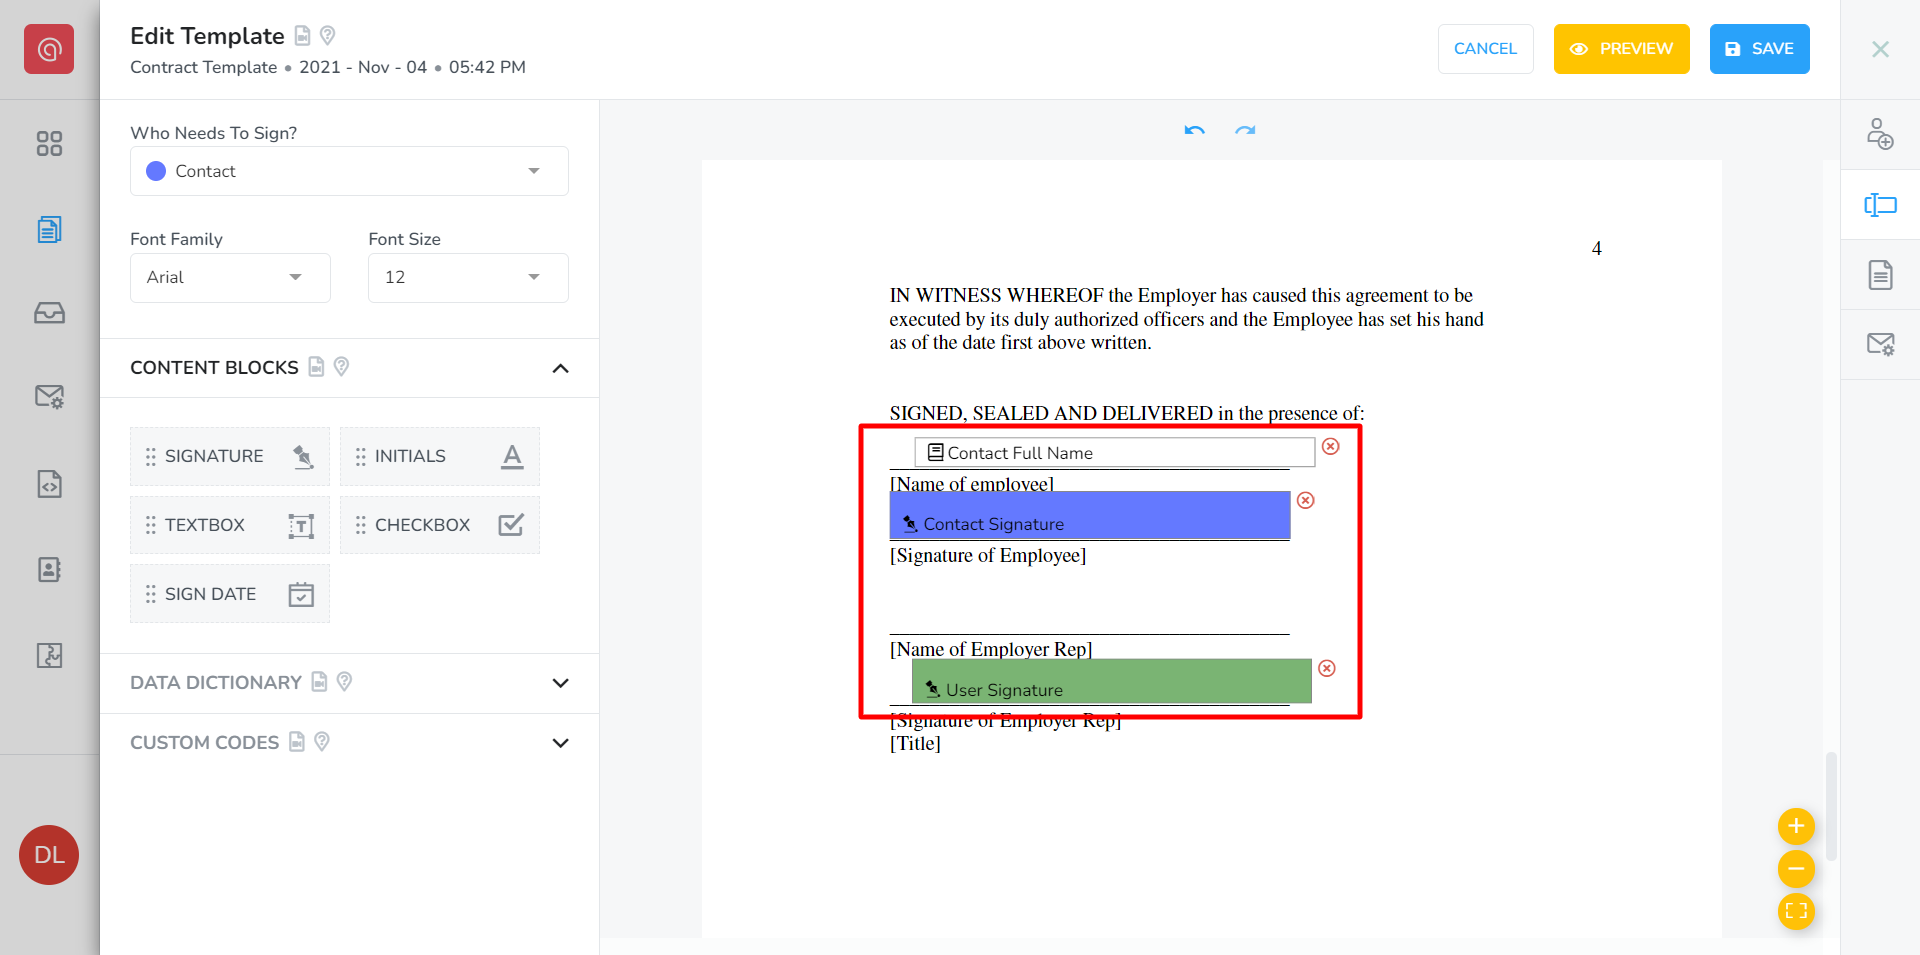
In our example, we have selected to align the 2 signature fields, and the contact name field.
Identify the guide field
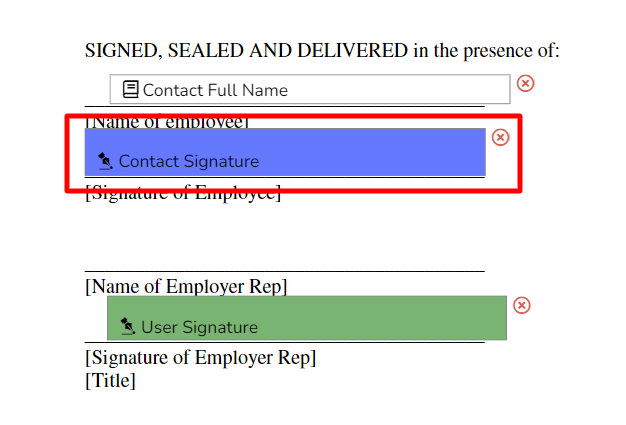
In our example, we have selected the contact signature field as our guide field.
Position the guide field correctly
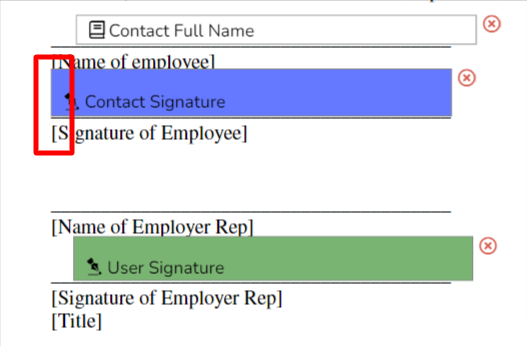
Align left side: If you want to align a group of fields by their left sides, you will want the guide field to already be positioned correctly, so that the left side of the guide field is in the correct position on the page.
Align right side: If you want to align a group of fields by their right sides, you will want the guide field to already be positioned correctly, so that the right side of the guide field is in the correct position on the page.
Align top side: If you want to align a group of fields by their top sides, you will want the guide field to already be positioned correctly, so that the top side of the guide field is in the correct position on the page.
Align bottom side: If you want to align a group of fields by their bottom sides, you will want the guide field to already be positioned correctly, so that the bottom side of the guide field is in the correct position on the page.
In our example, we want to align our fields by their left sides. So, we have positioned the guide field (the signature field) correctly, making sure to align the left side of the field in the correct position.
Click-and-drag to select the fields you want to align
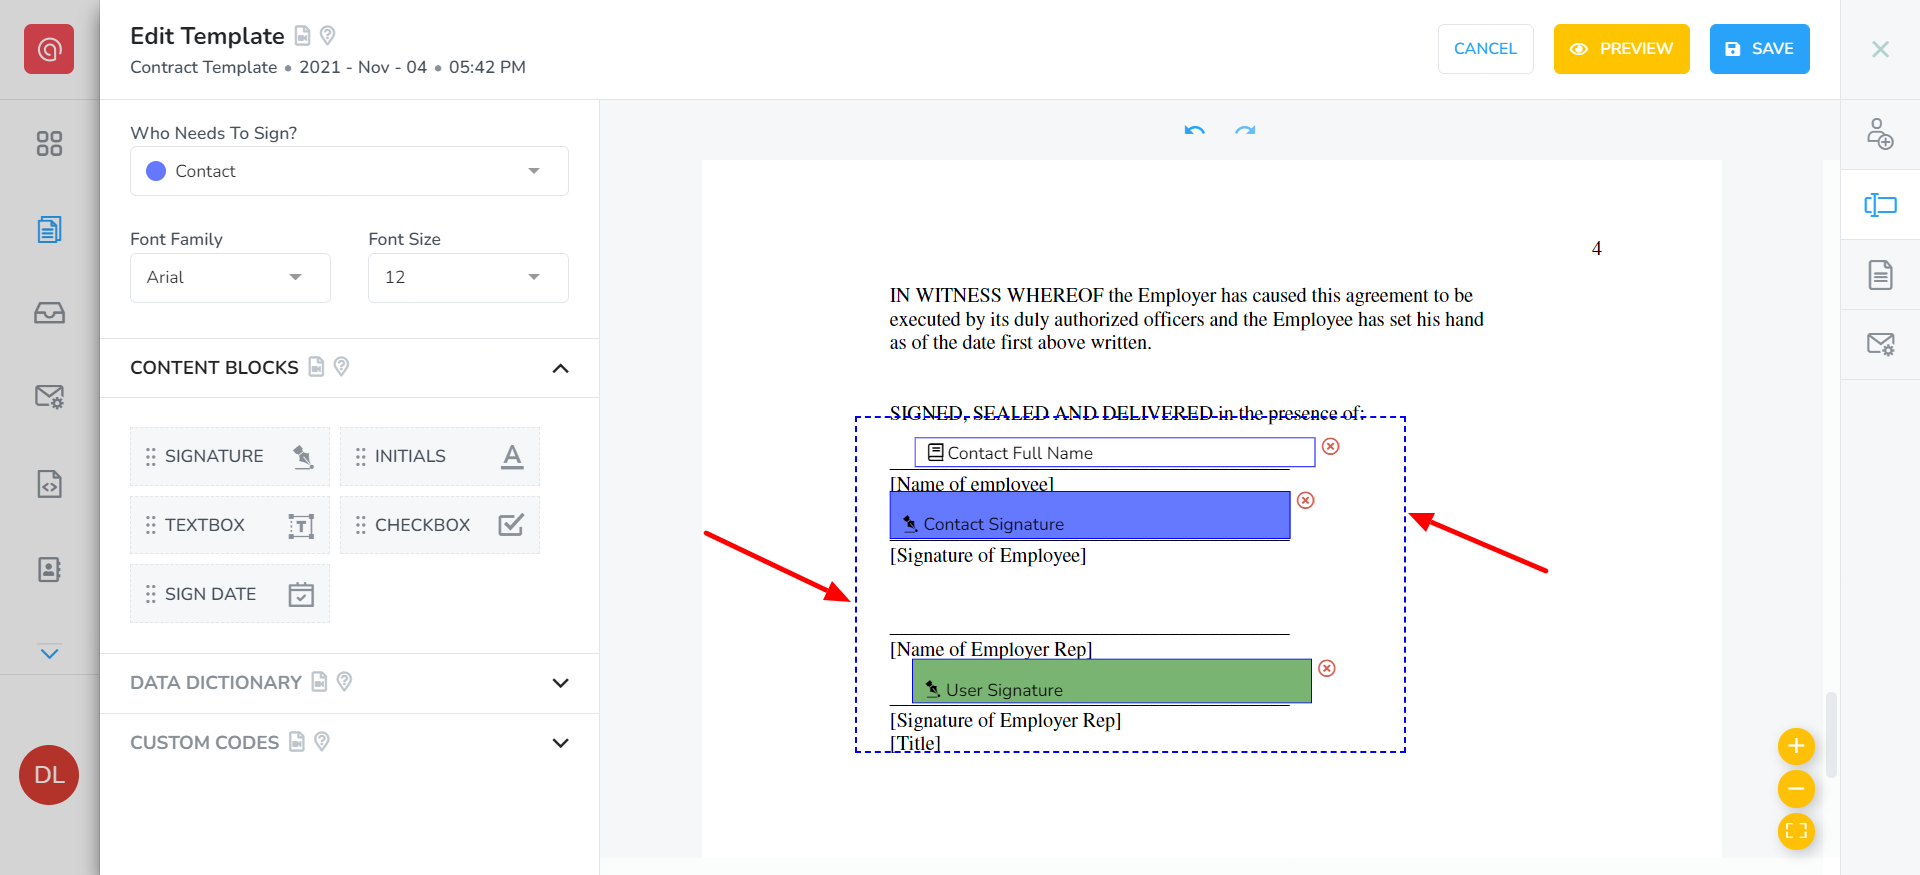
In our example, we have drawn a rectangle around 3 fields that we want to align.
Select the alignment type
